provided by diynhacks.com
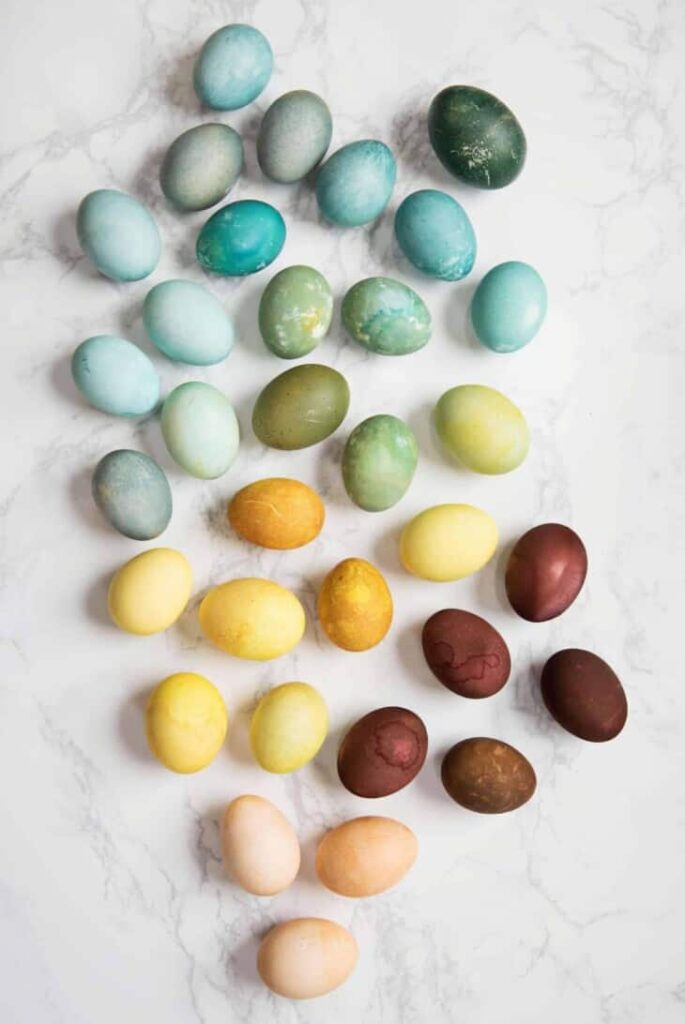
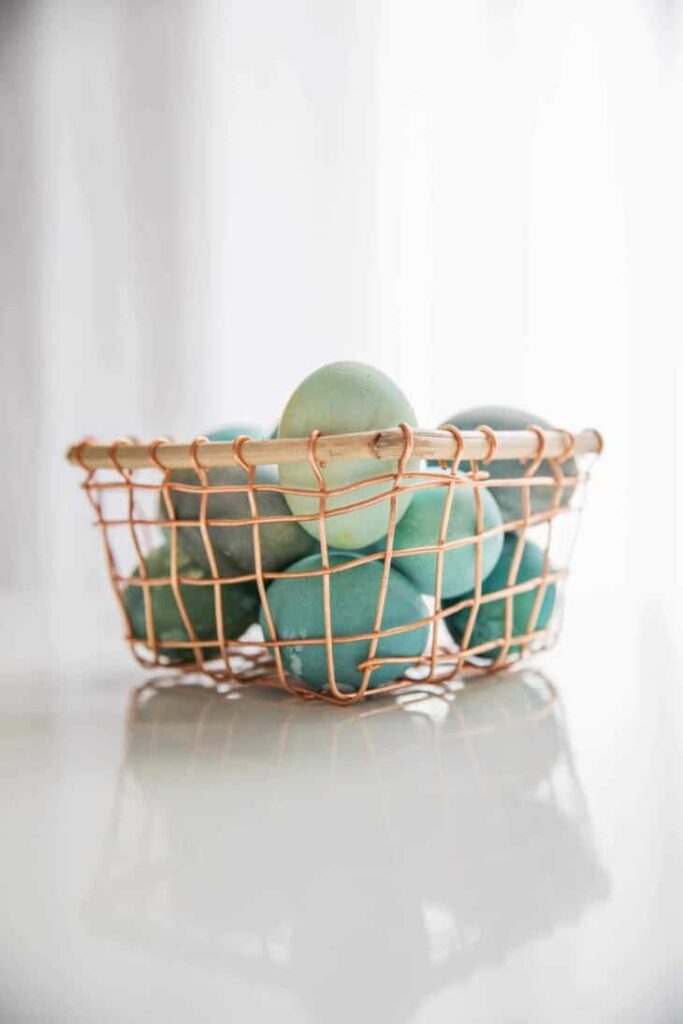
It’s almost Easter and no matter what age you are dying Easter eggs is just a fun tradition. Over the years we’ve tried different methods – boxed dye, food coloring, vinegar, markers, you name it. This year, however, we’ve decided on a more natural approach to our egg dying. The outcome? Beautifully dyed eggs that actually look super aesthetic to display during spring. If you are interested in dying your eggs the natural way but aren’t sure where to start, we’ve got the scoop thanks to A Beautiful Mess.
Here’s what you’ll need:
- hard boiled eggs (white eggs allow brighter colors, brown allow warmer/darker colors)
- white vinegar
- 5 medium beets
- one red cabbage
- 1 pound raw spinach
- turmeric
- 5 avocados
- small bag of dry black beans
- 3-5 sauce pans depending on how many vegetables you are dyeing
- 3-5 containers to hold dye (small mixing bowls, mason jars, clear plastic cups)
- tongs or large metal spoons
Here’s how you’ll do it:

- Once you’ve decided on which colors you want to use, chop up your vegetables into small pieces and add them to a sauce pan that is filled just over 3/4 of the way full. To extract the richest colors, you’ll want to heat these to a simmer (tiny bubbles on the edges and steam coming off the pot) for about 20 minutes.
- Let them cool and then strain your dye through a strainer into a glass bowl or some container that will allow your eggs to be submerged. The amount of liquid from one sauce pan should be enough to dye six eggs each. You can also separate your dye into two bowls and add vinegar to one of those bowls. This will allow you to get two colors from the same dye pot.
- Let your hard-boiled eggs rest in your dye at least two hours. You can also try letting them dry and dipping them again for two more hours. The richest colors will come from leaving them to soak overnight. If you’re dyeing with kiddos, the older ones can help with cutting vegetables and straining liquid. Younger ones can help by dyeing the eggs and checking on them after the timer is set. It’s a great way to teach them about science while letting them explore the connection between plants and colors.
- If you want to add a little pizazz to your eggs, you can draw on them with white crayon before you dye them, you can use a sharpie to add details after you dye them, or if you’re feeling really crazy, you can use glitter. Whether your eggs are minimal and pastel or richly colored and caked in glitter, your eggs will look incredible as a centerpiece this Easter. (And you totally earn bragging rights!)
