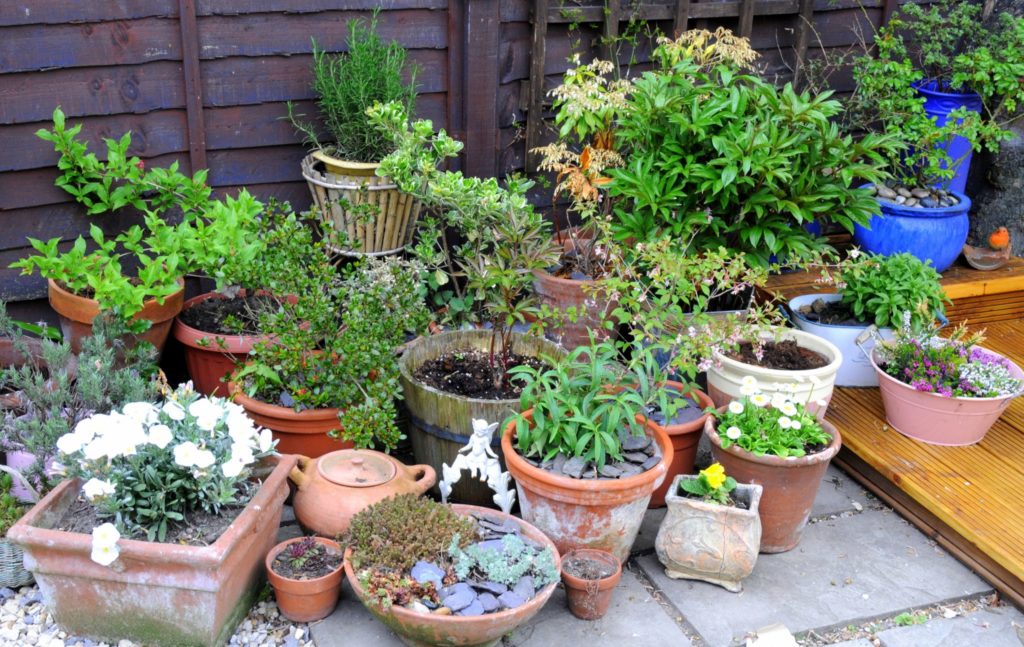
Looking to add a little personality to your planters? Look no further than the unassuming terra cotta pot. While it can feel pretty basic at times, it is practically a license to get creative. You can make a splash with very few tools on hand. The following will walk you through a favorite option of mine that is on par with current trends…
Tools that you will need: white spray paint (matte would probably work best), painters’ tape, gold paint (satin or semi-gloss), and a paintbrush.
- Set up your work area using an old cardboard box and a piece of scrap wood. The old cardboard box is to protect the floor or ground (I highly recommend doing this part of the activity outdoors with proper ventilation) and the piece of scrap wood is to balance the pot on top of the cardboard or newspaper, so it doesn’t stick!
- Following the instructions on the can, spray paint the exterior of the empty terra cotta pot. This may take up to three coats for adequate coverage. Make sure to get overspray on the interior of the top lip of the pot – look for an inch or two of coverage (this will make sure that you don’t see the terra cotta when you pot your plant).
- Once your pot is completely dry, take your painters’ tape and tape a line around the bottom of the pot, approximately two to three inches above the base. This line can be straight or at angle, whatever you fancy!
- Beneath the painters’ tape, paint your pot gold. This may take a couple of coats, so just be patient and follow the instructions. Before the pot is completely dry with the final coat, remove the painters’ tape.

Viola! Now you have a gorgeous and trendy pot for a minimal cost and maximum enjoyment. Since you likely have leftover paint, you can style a couple of more pots using the same colors and different patterns to make a cohesive set.
If you don’t have a plant for your pot, consider propagating one you already have. Golden Pothos is a prime propagation candidate. Simply grab your scissors and cut off an arm of the plant about an inch below a fresh sprout. Stick the sprout in a glass of water for a couple of weeks until it sprouts roots. Once the plant has generated new roots it is ready to be planted. If you are looking for a thicker look, cut off two or three arms of the plant at once; once they root, you can plant them all in the same pot achieving the look of a more established plant.

