Have some nasty caulk in your home? You aren’t alone – it happens to the best of us. But when that time comes, it’s best to address it head-on, before the cracked caulk has a chance to compromise your bathroom water seal. Caulk exists to create a waterproof barrier. Once that barrier starts to break down, you are leaving yourself wide open for mold and rot due to water pooling where it wasn’t intended. The task itself may be daunting, but if you follow this step-by-step guide, you’ll be in the clear for a fraction of the cost of hiring a professional.
Tools you’ll need: Razorblade, bathroom grade silicone caulk, caulk gun, rubbing alcohol, and painter’s tape (optional, but recommended)
- Give yourself a twenty-four-to-forty-eight-hour window to accomplish this task, first to make sure the seams are good and dry before reapplying caulk and second to ensure that the caulk has ample cure time prior to getting wet again.
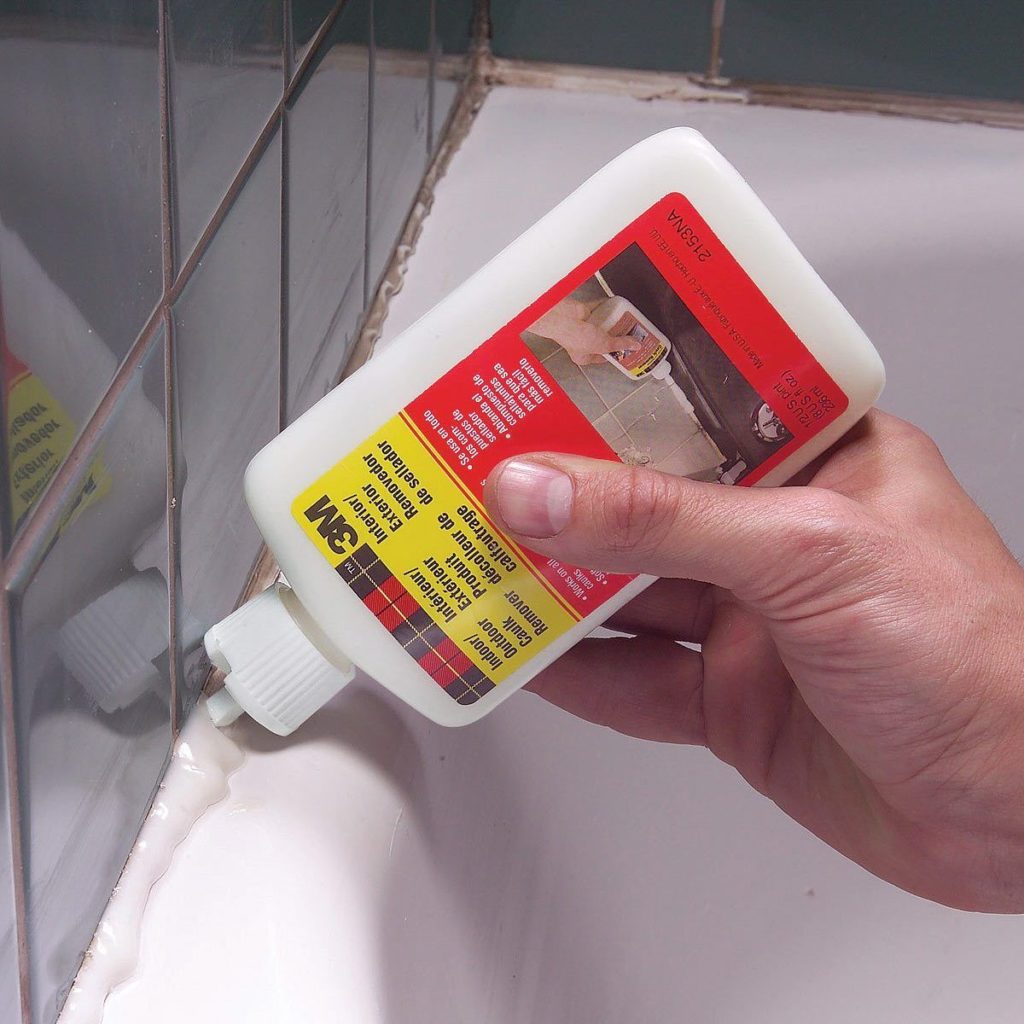
- Get rid of the old caulk. There are several tools on the market to help remove caulk, but a good old razor blade will often do the trick. You’ll want to slice either side of the caulk (top and bottom) to loosen the grip the caulk. Peel off as much as you can and run your razor blade back over any stubborn spots. The reason to remove as much as possible is to ensure appropriate adhesion of the fresh caulk. If you run new caulk over old caulk, you risk an improper seal which translates to a big waste of time. Do it right the first time.
- Now that the old caulk has been removed, scrub out those crevices to make sure you aren’t leaving any grime behind. Vinegar works wonders for neutralizing mold and mildew, so you can take the natural route and set yourself up for success. Once clean and dry, run an old rag covered in rubbing alcohol along the seams. This will prep the surface for the new caulk.
- For crisp caulk lines – we’re talking professional-looking results – run painters’ tape on either side of your proposed caulk line. This will help you stay in the lines.
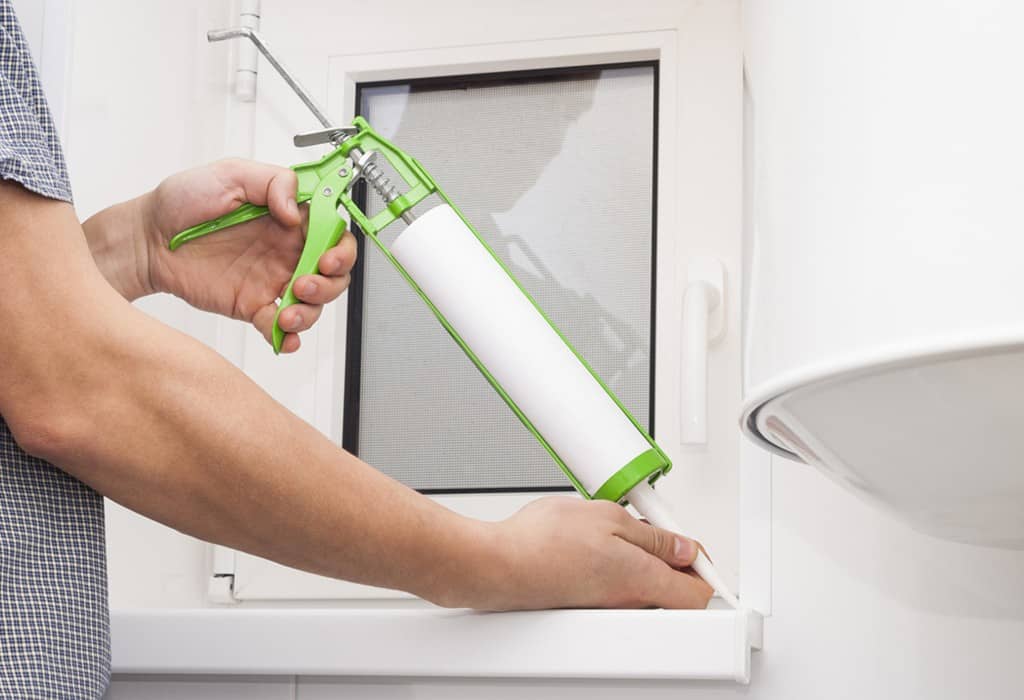
- Now it’s time to caulk. Don’t get too far along though. You’ll want to do small sections, run your finger across the section to remove excess caulk and then remove the painter’s tape and run your finger along the line again to smooth any imperfections. The tape allows you to control the thickness of the application for optimal results. Because silicone can be particularly messy, instead of using a bare hand to smooth the caulk, consider putting a piece of cling wrap over your finger to allow smooth lines and minimize the mess on your hands.
- Once everything is caulked it is time to wait. Don’t rush your next shower or you’ll risk undoing all your hard work. Be sure to follow the directions on the caulk.
Enjoy the crisp clean results of your hard work!
Editorial content