
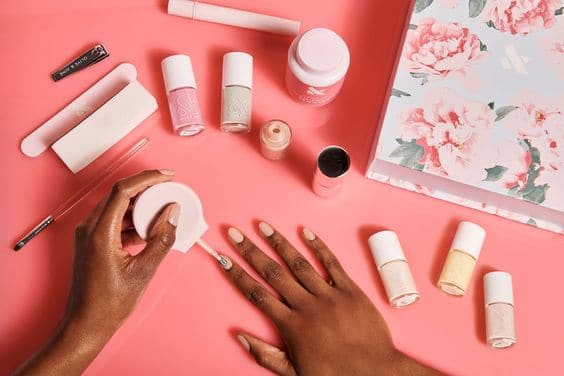
Why does the perfect manicure and pedicure feel so elusive? And why is it so expensive? I suppose the DIY pedicure generally comes with a foot massage… and that IS hard to recreate on your own. However, the rest of the process doesn’t have to be! The following is a ten-step process to help you achieve salon-like results with standard nail lacquer.
Required equipment:
Nail clippers, nail file, nail buffer, cuticle remover (optional), nail primer (optional), nail polish of choice, topcoat, and lotion (optional).
- First, trim nails close to where you would like them to be, always erring on the side of too long
- Next, use a nail file to get rid of any rough edges and to file your nails to the desired shape
- Remove old nail polish (this is step three so you can use the old nail polish to guide your trimming and filing in steps 1 and 2)
- If you have cuticle remover, use that now to push the cuticles back and remove any excess. Because the cuticles serve as a protective barrier against germs, you should generally avoid trimming them as that exposes them to potential bacteria
- Use a light buffer to take any shine off your nails; similar to painting a piece of furniture, you need to rough up the surface a bit (but not too much) to be most receptive to the new finish
- KEY POINT: use your nail polish remover again to remove any nail dust, debris and oils from your nails – this is the most important step in the process
- If you have a nail primer, use it. This will not only serve to protect your nails against yellowing if you are a frequent nail polisher, but it will also help bind your color to your nail
- Apply one light coat of your desired color, let dry and apply another light coat
- Once nails are dry, apply a shiny topcoat to protect the polish you just applied and let dry
- To complete the process, lotion up those hands and feet and show off your pretty new polish!
Now if you aren’t steady with the nail polish brush, fear not. You can purchase a makeup brush (such as an eyeliner brush, or really any small brush with somewhat stiff bristles), dip it in nail polish remover, and use that to clean up the edges. As with most things, practice makes perfect, and with a little practice, you’ll be on your way to salon-worthy fingers and toes for a fraction of the cost.
